1-203-402-0477 [email protected]

User Calibration on an AdvancedSense XM

The User calibration feature is available on WolfOS V2 or later and can be used to calibrate GrayWolf smart gas sensors installed in a DirectSense II probe. Access free updates for the AdvancedSense XM by contacting your sales representative or [email protected].

User calibrations are performed to maintain the accuracy and reliability of a gas sensor, in addition to the annual Factory calibration. The recommended frequency of User calibrations to maintain sensor accuracy will vary by sensor. Specific applications, protocols, or S.O.P.s may require more frequent User (or Factory) calibrations.

Equipment

To perform a user calibration, the following equipment will be is necessary.

  • AdvancedSense XM with WolfOS V2 or later.
  • DirectSense II probe.
  • AD-DSIIL8-1M connection cable from DirectSense II to AdvancedSense XM.
  • User Calibration kit CA-GS25 with appropriate reference gases containing:
    • CA-HD4-A1 calibration hood.
    • CA-REG1 0.3Lpm flow regulator.
    • 1 meter of calibration tubing.
    • Appropriate reference gases, such as CA-ISO-7.5 and CA-HYDROC-0 for TVOC sensor.

Procedure

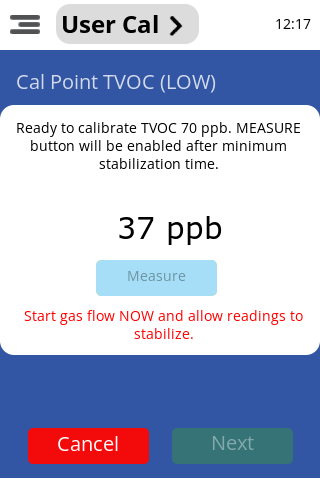
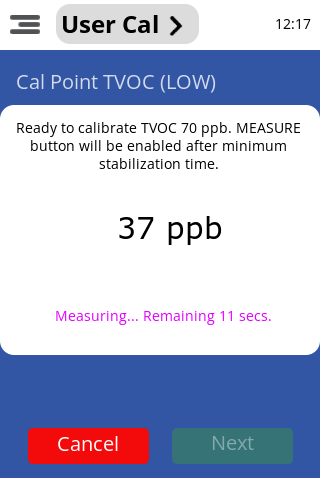
NOTE: For optimal results, the probe should be powered on for a minimum of 30 minutes to fully stabilize prior to calibration.
  1. Connect the DirectSense II probe to the AdvancedSense XM via the ADDSIIL8-1M cable. Power on the probe and then the AdvancedSense XM. Note, user calibration cannot be performed wirelessly over BLE connection.
  2. After at least 30 minutes of probe stabilization (overnight if possible or when recommended), navigate to the Menu , then Probe, then User Calibration.
  1. Select the probe that contains the target sensor for user calibration.
  1. Select the target sensor for user calibration.
  1. On the following screen, choose to calibrate the high point, the low point or both points by using the check boxes to the left of the calibration points. For the most accurate calibration, GrayWolf always recommends calibration of both points. Sensors may also be factory reset to the factory calibration. Factory Reset will erase any user calibration currently on the sensor and restore it to the most recent factory calibration performed. This cannot be undone.
  2. The calibration set point is displayed under each calibration point. Default calibration values are preset but should always be verified against the reference gases being used. If the concentration of the reference gases you are using differs from these points, modify the set points with the edit button . Refer to the labels on the calibration reference gas bottles for the proper values, enter the new set point, and press Confirm.
  1. Prepare the DirectSense II probe and calibration reference gas by performing the following steps:
  1. Open the sensor hatch on the DirectSense II probe to expose the individual sensors. This is done by using a 2.5mm Hex driver to unscrew the screw on the top-back of the probe. This tool Is provided in every kit with a DirectSense II probe.
  2. Screw the 0.3 LPM flow rate regulator (CA-REG1) snuggly
    onto the reference calibration cylinder.
  3. Connect the 1-meter section of calibration tubing to the top of the regulator and then to one side of the black calibration cap (CA-HD4-A1). On the
    other side of the calibration cap, connect the 15-centimeter section of tubing.
  4. Identify the sensor you have selected to calibrate and place the calibration cap over the sensor. Most sensors have a label identifying what they are. Call or email tech support at +1 (203) 402-0477 or [email protected] for help identifying a sensor.
DirectSense II 2.5mm hatch screw
DirectSense II UserCal probe gas cal Hood
  1. Once the user calibration points are configured and the calibration gas is setup with the calibration cap over the target sensor, press Next.
  2. Start gas flow over the sensor. Turn on the regulator by turning the black dial counterclockwise to open/ clockwise to close. (On older regulators, push the dial in and turn a quarter turn.) To check gas is flowing, put calibration hood to ear and listen for a slight hiss (although this is not recommended for Cl2, HCl or other reactive reference gases).
  3. The user calibration tool on the XM will display the calibration point screen. In the middle of the screen, the current value of the target sensor is displayed. Below that is a Measure button that will be made accessible after sufficient time has passed for the sensor to stabilize to the reference gas. GrayWolf recommends at least 3 minutes for most sensors. For the TVOC sensor, at least 5 minutes of stabilization is recommended.
  1. After the minimum stabilization period is complete, confirm that the readings are stable (live readings are not deviating or jumping significantly). Press the Measure button to initiate the 15-second measurement period. Once the measurement is complete, press Next.
  2. Turn off the regulator and remove the calibration cap from the sensor.
  3. Repeat steps 7-12 with the high point reference gas to perform a high point user calibration.
  4. When the user calibration procedure is complete and all points have been measured, the tool will display a message indicating the offsets that will be applied on top of the current factory calibration. To save these offsets, press Send To Probe.
  1. Allow 1-2 minutes for the calibration data to be saved to the smart sensor. Once complete, a confirmation screen will appear, and the probe will reboot to save the user calibration values to the sensor. You may exit the user calibration tool by pressing OK. The sensor readings on the Live view will now reflect new the user calibration.

After user calibration is complete you can view the current active calibration by going to the Menu , then Probe, then View Calibration and select the probe you wish to view.

Restoring Factory Calibration

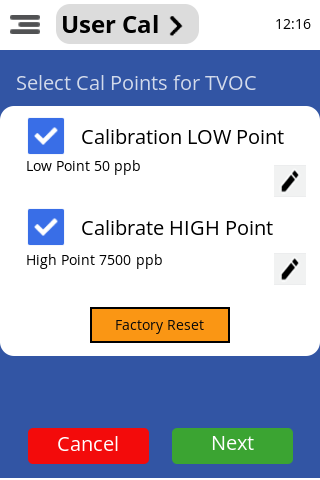
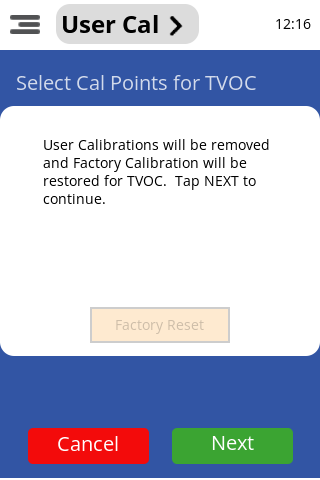
It may be necessary to restore the current factory calibration on a sensor if the values do not appear as expected.
  1. To restore the factory calibration, first connect the DirectSense II probe to the AdvancedSense XM via the AD-DSIIL8-1M cable. Power on the probe and then the AdvancedSense XM. Note, factory calibration reset cannot be performed wirelessly over BLE connection.
  1. Navigate on the AdvancedSense XM to the Menu , then Probe, then User Calibration.
  1. Select the probe that contains the target sensor for factory reset.
  1. Select the target sensor for factory reset.
  1. On the following screen, click the Factory Reset button to reset the sensor to the factory calibration. Factory Reset will erase any user calibration currently on the sensor and restore it to the most recent factory calibration performed. This cannot be undone.
  1. On the following screen, press Next to continue.
  1. Press Send to Probe to commit the factory reset onto the sensor. Allow 1-2 minutes for the calibration data to be saved to the smart sensor. Once complete, a confirmation screen will appear, and the probe will reboot to save the values to the sensor. You may exit the user calibration tool by pressing OK. The sensor readings on the Live view will now reflect new the most current factory calibration.

Typical Calibration Set Points

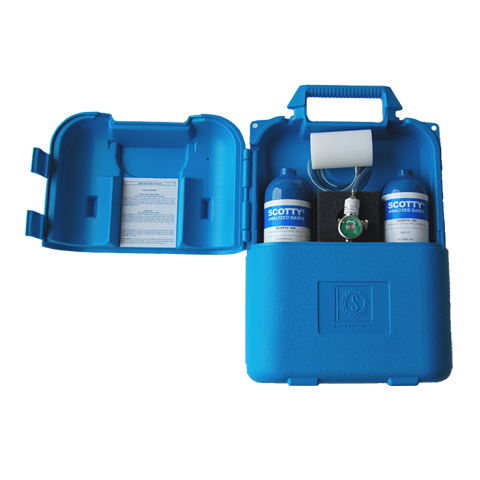
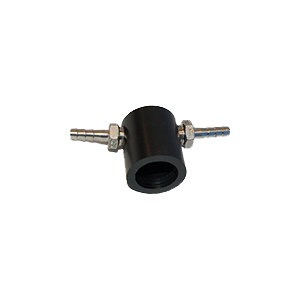
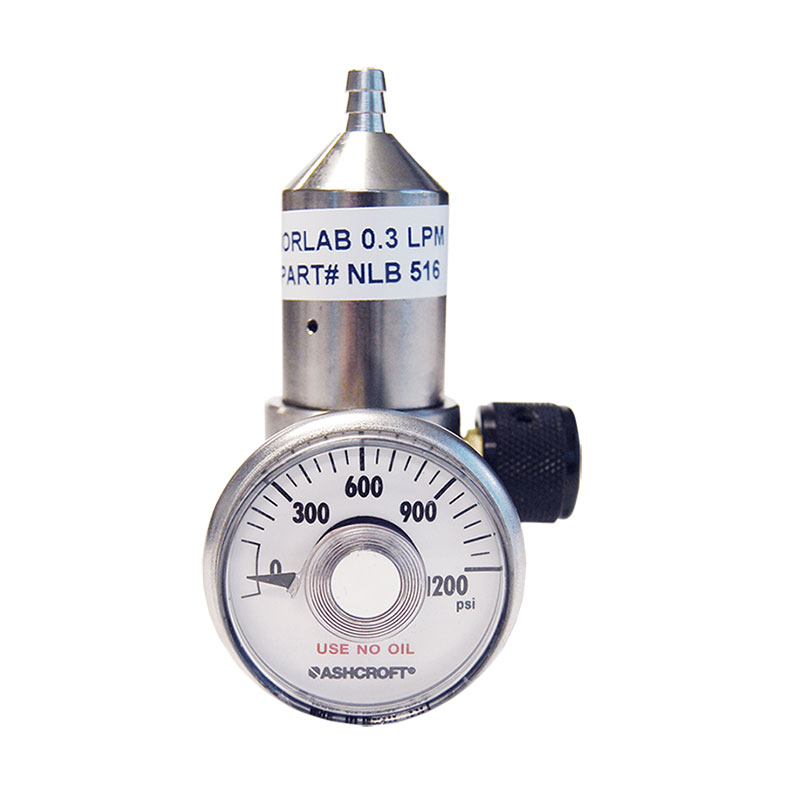
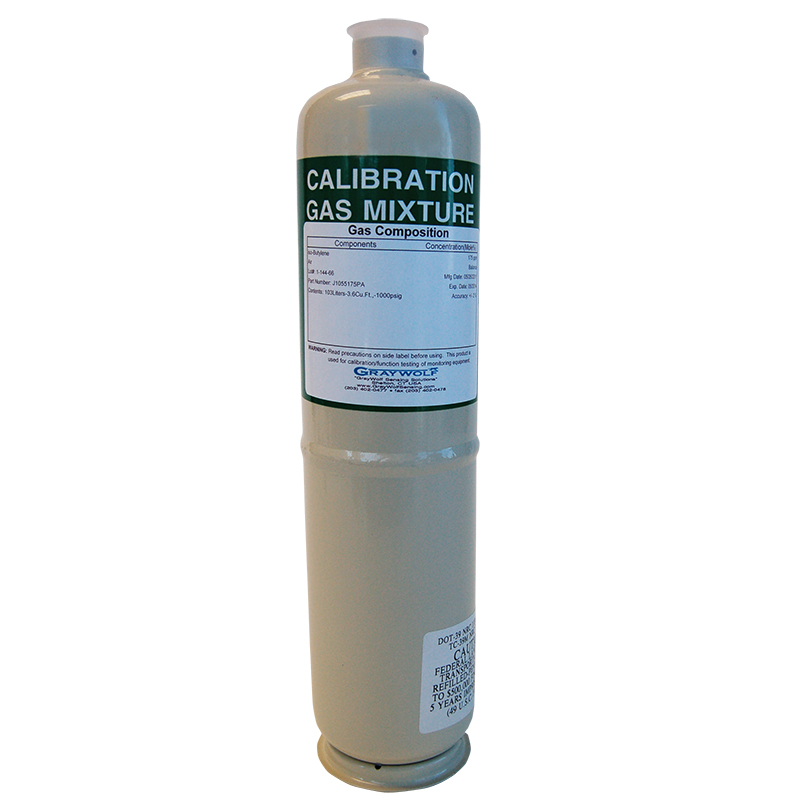
The following table is for informational purposes only regarding the typical setpoints used during user calibration. Always refer to the label on the reference calibration gas being used when configuring user calibration set points. For purchase of user calibration equipment and gases, contact your sales representative or [email protected].

Sensor

GrayWolf part number

Low point

High point

User calibration gas (Low, High)

TVOC-PPB Low Range

SEN-SMTA-VOC-PPB

100 ppb

7500 ppb

CA-HYDROC-0, CA-ISO-7.5

TVOC-PPM Low Range

SEN-SMTA-VOC-PPML

0 ppm

175 ppm

CA-HYDROC-0,CA-ISO-175

TVOC-PPM Mid Range

SEN-SMTA-VOC-PPMMH

0 ppm

1830 ppm

CA-HYDROC-0,CA-ISO-1830

TVOC-PPM High Range

SEN-SMTA-VOC-PPMH

0 ppm

8750 ppm

CA-HYDROC-0,CA-ISO-8750

Carbon Dioxide (CO2)

SEN-SMTX-CO2

375 ppm

1250 ppm

CA-CO2-375,CA-CO2-1250

Carbon Monoxide (CO)

SEN-SMTA4-CO

0.5 ppm

95 ppm

CA-HYDROC-0,CA-CO-95

Ammonia (NH3)

SEN-SMTA3-NH3

0 ppm

 25 ppm

CA-HYDROC-0,CA-REFGAS-MISC

Chlorine (Cl2)

SEN-SMTA3-CL2

0 ppm

5 ppm

CA-HYDROC-0,CA-REFGAS-MISC

Hydrogen Chloride (HCl)

SEN-SMTA3-HCL

0 ppm

10 ppm

CA-HYDROC-0,CA-REFGAS-MISC

Hydrogen Sulfide (H2S)

SEN-SMTA3-H2S

0 ppm

10 ppm

CA-HYDROC-0,CA-REFGAS-MISC

Nitric Oxide (NO)

SEN-SMTA3-NO

0 ppm

25 ppm

CA-HYDROC-0,CA-REFGAS-MISC

Nitrogen Dioxide (NO2)

SEN-SMTA4-NO2

0 ppm

5 ppm

CA-HYDROC-0,CA-REFGAS-MISC

Oxygen (O2)

SEN-SMTA2-O2

0 %

20.8 %

CA-REFGAS-MISC,CA-REFGAS-MISC

Sulfur Dioxide (SO2)

SEN-SMTA3-SO2

0 ppm

10 ppm

CA-HYDROC-0,CA-REFGAS-MISC

For Detailed Information: